RemoteIoT VPC Raspberry Pi free solutions are revolutionizing how individuals and organizations manage their IoT projects remotely. The ability to create a secure and efficient virtual private cloud (VPC) using a Raspberry Pi opens up countless possibilities for hobbyists, developers, and businesses alike. Whether you're setting up a home automation system or a professional IoT network, this setup can significantly reduce costs while maintaining high performance.
RemoteIoT technology is no longer confined to expensive commercial solutions. With the power of Raspberry Pi, you can build your own VPC infrastructure at home or in your office without spending a fortune. This article will guide you step by step through the process of setting up a RemoteIoT VPC using Raspberry Pi, ensuring you have all the necessary tools and knowledge to get started.
By the end of this guide, you'll understand the benefits of using Raspberry Pi for IoT projects, how to configure a VPC, and the best practices to ensure your system remains secure and reliable. Let's dive into the world of RemoteIoT VPC Raspberry Pi free solutions and unlock its full potential.
Read also:Kate Garraway Partner A Deep Dive Into The Life And Career Of Derek Draper
Table of Contents
- Introduction to RemoteIoT VPC with Raspberry Pi
- Benefits of Using Raspberry Pi for RemoteIoT VPC
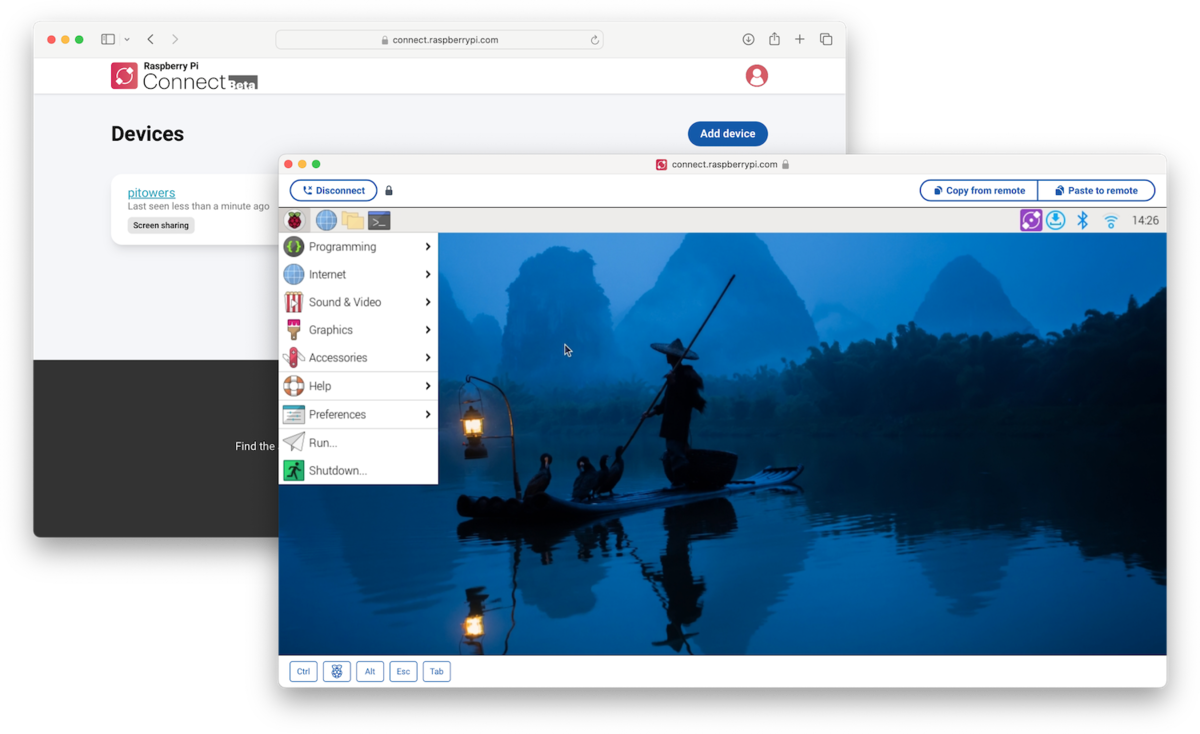
- Setting Up Raspberry Pi for RemoteIoT VPC
- Understanding VPC Configuration
- Ensuring Security in Your RemoteIoT VPC
- Optimizing Performance
- Common Issues and Troubleshooting
- Use Cases for RemoteIoT VPC
- Comparison with Commercial Solutions
- Conclusion and Next Steps
Introduction to RemoteIoT VPC with Raspberry Pi
The Internet of Things (IoT) has become an integral part of modern technology, connecting devices and systems in ways previously unimaginable. One of the most exciting developments in this field is the ability to create a Virtual Private Cloud (VPC) for managing IoT devices remotely. With Raspberry Pi, you can now set up a RemoteIoT VPC without breaking the bank.
Raspberry Pi, a small yet powerful single-board computer, offers a cost-effective solution for building and maintaining a VPC. Its versatility, combined with open-source software, makes it an ideal platform for hobbyists, students, and professionals looking to explore IoT applications.
In this section, we will explore the basics of RemoteIoT VPC and how Raspberry Pi fits into the equation. We'll also discuss why choosing a free solution can be beneficial for both personal and commercial projects.
Benefits of Using Raspberry Pi for RemoteIoT VPC
Using Raspberry Pi for RemoteIoT VPC provides several advantages over traditional commercial solutions:
- Cost-Effective: Raspberry Pi is significantly cheaper than dedicated IoT hardware, making it accessible to a wider audience.
- Flexibility: With a wide range of operating systems and software available, Raspberry Pi can be customized to meet specific project requirements.
- Community Support: A vibrant community of developers and enthusiasts offers extensive resources, tutorials, and forums for troubleshooting and learning.
- Energy Efficiency: Raspberry Pi consumes less power compared to other computing devices, making it an eco-friendly choice for long-term projects.
These benefits make Raspberry Pi an attractive option for anyone looking to implement a RemoteIoT VPC solution.
Setting Up Raspberry Pi for RemoteIoT VPC
Required Hardware
Before diving into the setup process, ensure you have the following hardware components:
Read also:Gary Delaney And Sarah Millican A Comedy Powerhouse Duo
- Raspberry Pi (Model 3 or later recommended)
- MicroSD card (minimum 16GB, preferably 32GB)
- Power supply (official Raspberry Pi power adapter)
- USB keyboard and mouse
- HDMI monitor (optional for initial setup)
- Ethernet cable or Wi-Fi dongle (if your model doesn't include built-in Wi-Fi)
Having the right hardware ensures a smooth setup process and optimal performance of your RemoteIoT VPC.
Software Installation
Once you have all the necessary hardware, follow these steps to install the required software:
- Download the latest version of Raspberry Pi OS from the official website.
- Use a tool like BalenaEtcher to write the OS image to your MicroSD card.
- Insert the MicroSD card into your Raspberry Pi and power it on.
- Connect to your Wi-Fi network and update the system using the terminal commands:
sudo apt update && sudo apt upgrade
With the software installed and updated, you're ready to proceed to the next step.
Understanding VPC Configuration
A Virtual Private Cloud (VPC) is a virtual network dedicated to your IoT devices, providing a secure and isolated environment for communication. Configuring a VPC on Raspberry Pi involves several key steps:
- Setting up a local network
- Configuring IP addresses
- Implementing firewall rules
By following these steps, you can ensure that your IoT devices communicate securely within the VPC while remaining isolated from external networks.
Ensuring Security in Your RemoteIoT VPC
Security is paramount when managing IoT devices remotely. Here are some best practices to keep your RemoteIoT VPC secure:
- Use strong passwords and enable two-factor authentication.
- Regularly update your Raspberry Pi OS and installed software.
- Monitor network activity for any suspicious behavior.
Implementing these security measures will protect your IoT devices and data from potential threats.
Optimizing Performance
To ensure your RemoteIoT VPC runs smoothly, consider the following optimization tips:
- Allocate sufficient resources to your Raspberry Pi, such as increasing swap space.
- Use lightweight software and services to reduce resource consumption.
- Monitor system performance and make adjustments as needed.
Optimizing your setup will help maintain high performance and reliability for your IoT projects.
Common Issues and Troubleshooting
Even with careful planning, issues can arise during the setup and operation of your RemoteIoT VPC. Here are some common problems and their solutions:
- Network Connectivity Issues: Check your Wi-Fi or Ethernet connection and ensure the correct IP settings.
- Software Conflicts: Remove unnecessary software and restart your Raspberry Pi.
- Performance Bottlenecks: Review your resource allocation and optimize as needed.
By addressing these issues promptly, you can keep your RemoteIoT VPC running smoothly.
Use Cases for RemoteIoT VPC
RemoteIoT VPC has a wide range of applications, including:
- Home automation systems
- Smart agriculture solutions
- Industrial IoT deployments
These use cases demonstrate the versatility and potential of using Raspberry Pi for RemoteIoT VPC projects.
Comparison with Commercial Solutions
While commercial RemoteIoT VPC solutions offer advanced features and support, they often come with high costs and limited flexibility. Raspberry Pi provides a cost-effective and customizable alternative that can meet the needs of many IoT projects.
By comparing the features, costs, and benefits of both options, you can make an informed decision about which solution is right for your project.
Conclusion and Next Steps
In conclusion, setting up a RemoteIoT VPC with Raspberry Pi offers numerous advantages for IoT projects. From cost savings to flexibility and community support, Raspberry Pi is an excellent choice for anyone looking to explore the world of IoT.
We encourage you to take the next step by trying out this setup for yourself. Share your experiences and questions in the comments below, and don't forget to explore other articles on our site for more tips and tutorials.
Thank you for reading, and happy tinkering with your RemoteIoT VPC Raspberry Pi free solution!